Hello, CommonCreativ readers! I’m new here, and wanted to quickly introduce myself before we dive into the DIY.
I’m Brandy Schuman from A Sensible Habit. I do printmaking and have an online shop currently carrying stationery, wedding-related items and custom stamps—I’m constantly trying to add more. I share my love for food and drink on my blog, along with whatever else strikes my fancy.
Now that we are acquainted, let’s get started!
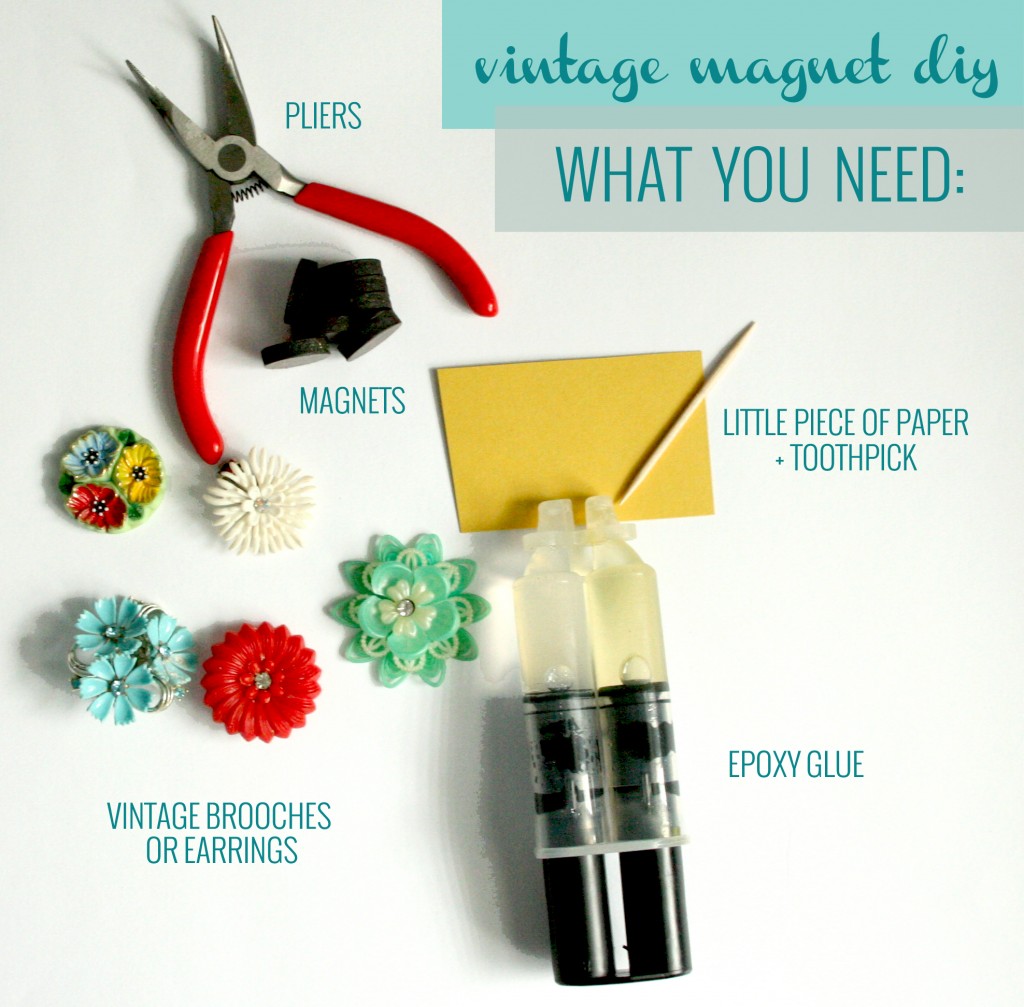
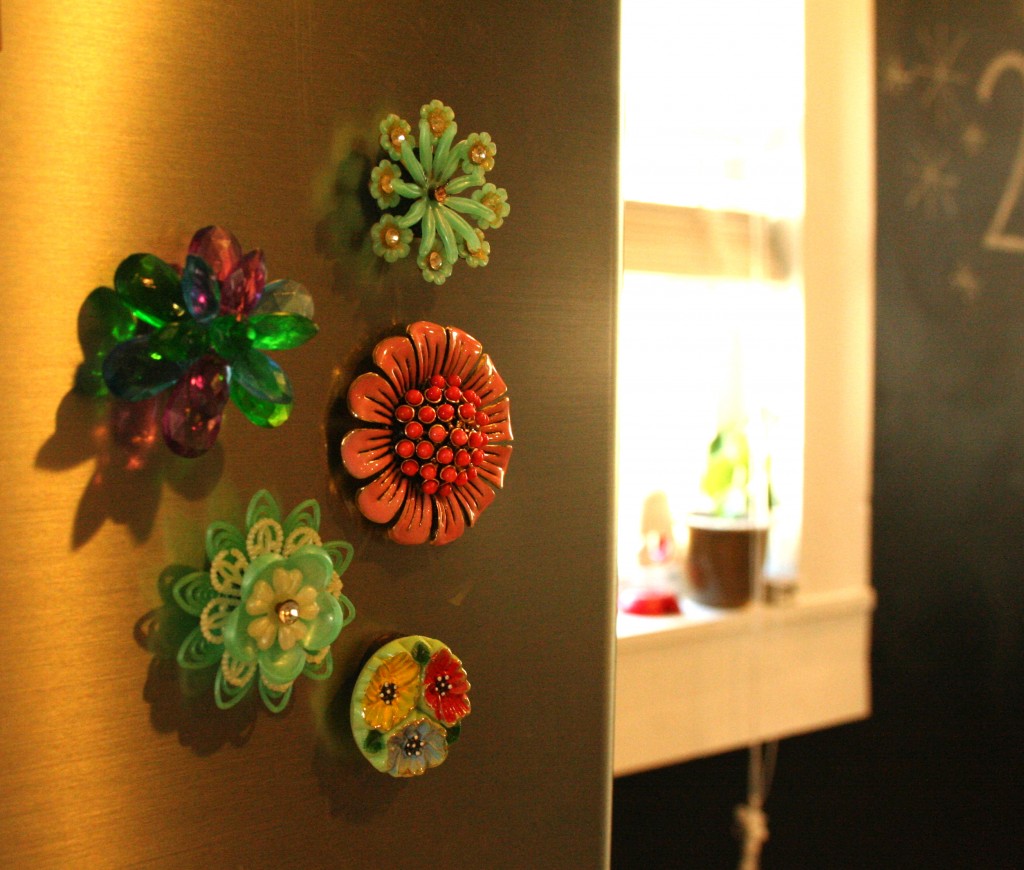
Whether you’ve inherited your grandmothers clip-on earrings or can’t pass up a deal at the thrift store, this simple DIY is a great way to give new life to your vintage baubles. Rather than gathering dust in a drawer, they can be out on display for you to enjoy everyday.
SUPPLY SOURCES
Epoxy Glue // Magnets (available in various sizes) // Jewelry Pliers
STEP ONE
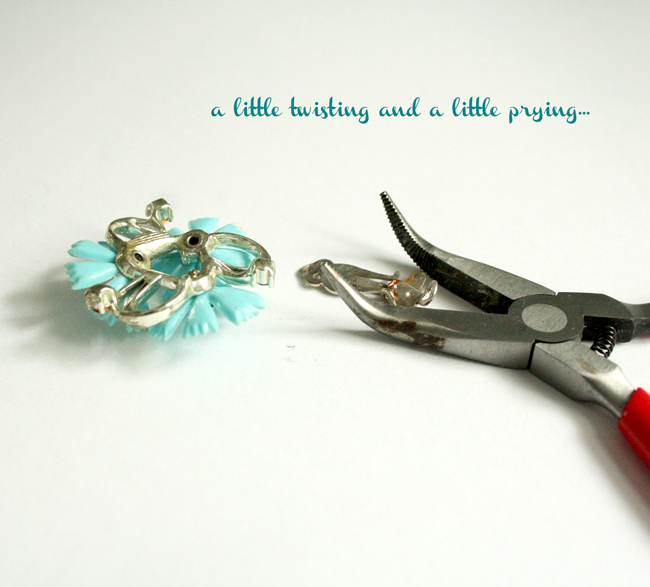
Using small pliers such as jewelry pliers, simply remove the backs from your vintage pieces.
STEP TWO
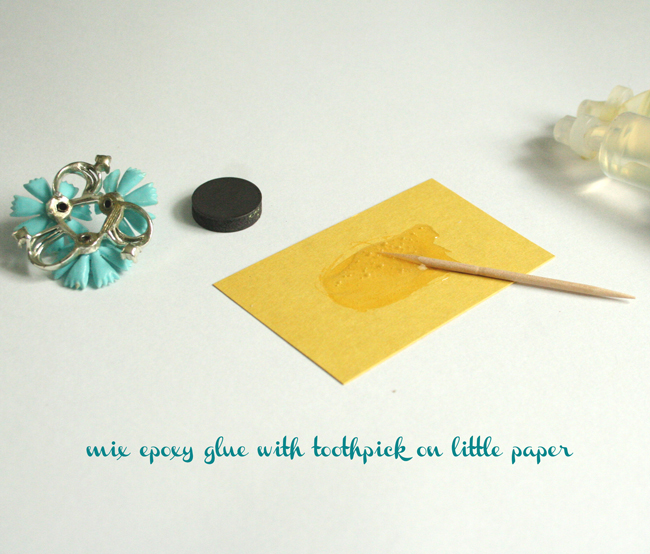
On a small piece of paper, mix together equal parts of the epoxy glue with your toothpick.
STEP THREE
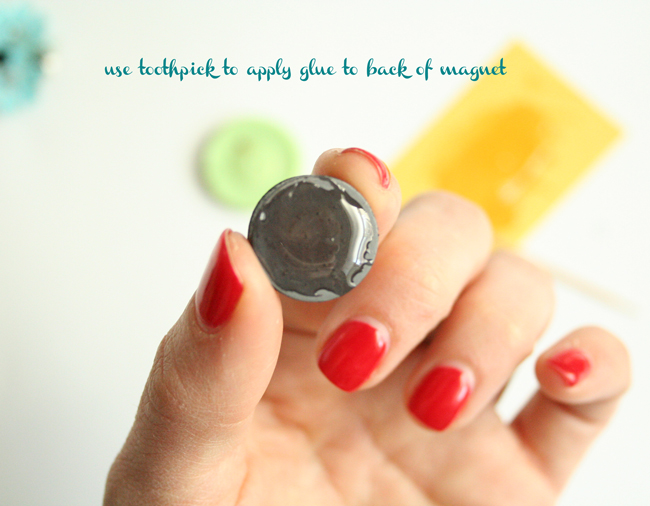
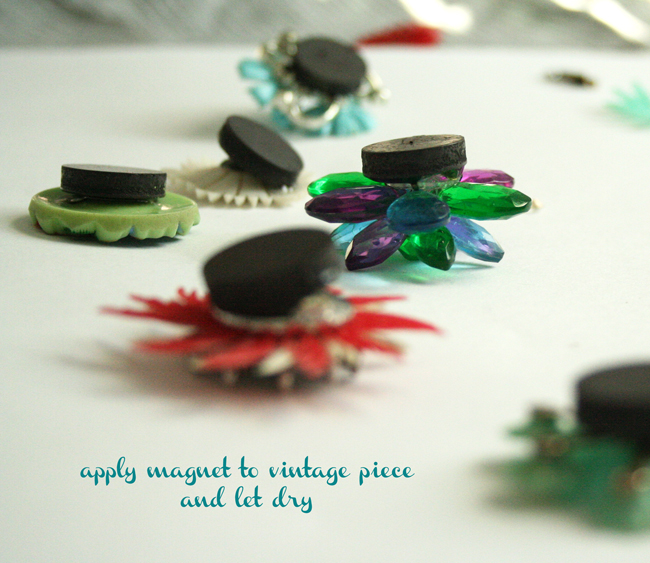
Apply a hefty amount of glue to the back of your magnet. I applied enough so that it kind of squeezed out the sides a bit when applied to the earring.
STEP FOUR
Position magnet on the back of your vintage piece, and lightly apply additional glue around the sides with the toothpick if necessary for a stronger hold.
It’s that simple! I would let them dry at least 2 hours, and even overnight to be safe.

