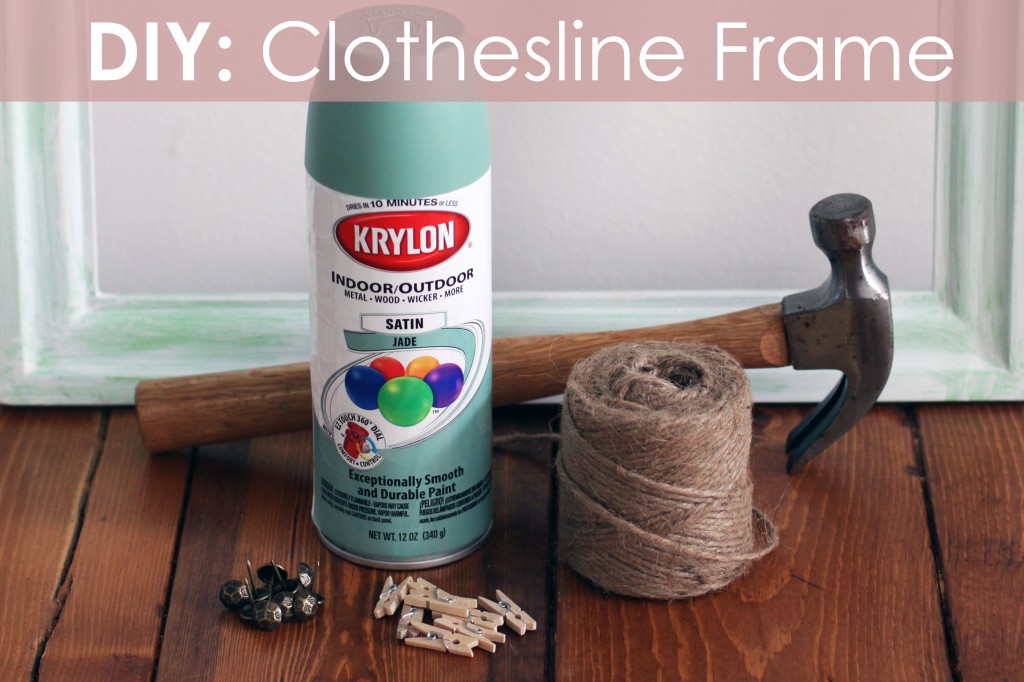
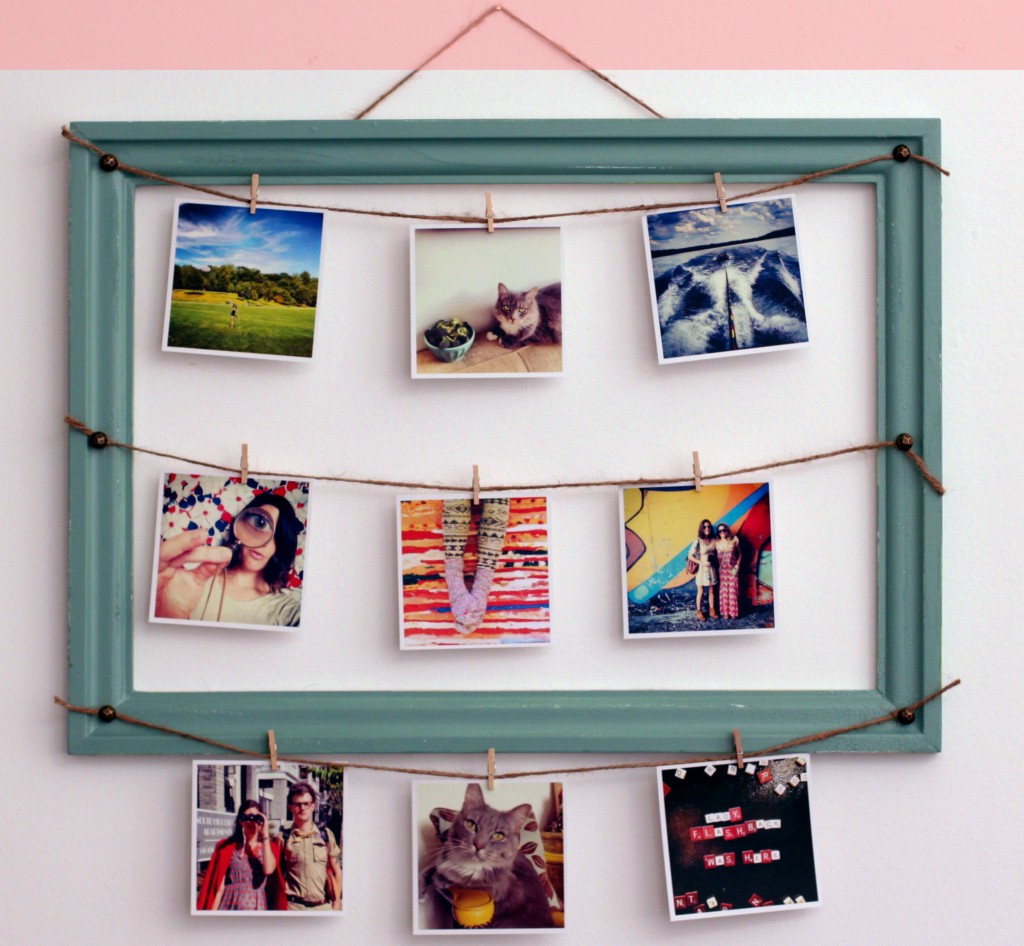
Happy New Year! I’m a big-time photo enthusiast so this DIY is right up my alley. This “anti-frame” is extremely easy and cheap, and I’m not just saying that! I came across some free frames, so I primed them and used the one pictured (approx 16”x 22”). You can also visit a thrift shop or recycle a frame you no longer need by removing the glass. Another idea would be to utilize frames like this to showcase your printed Instagram photos or a 365 project you started for the new year.
Empty Frame
Spray Paint (if frame needs a facelift)
Photos/Postcards/Memorabilia
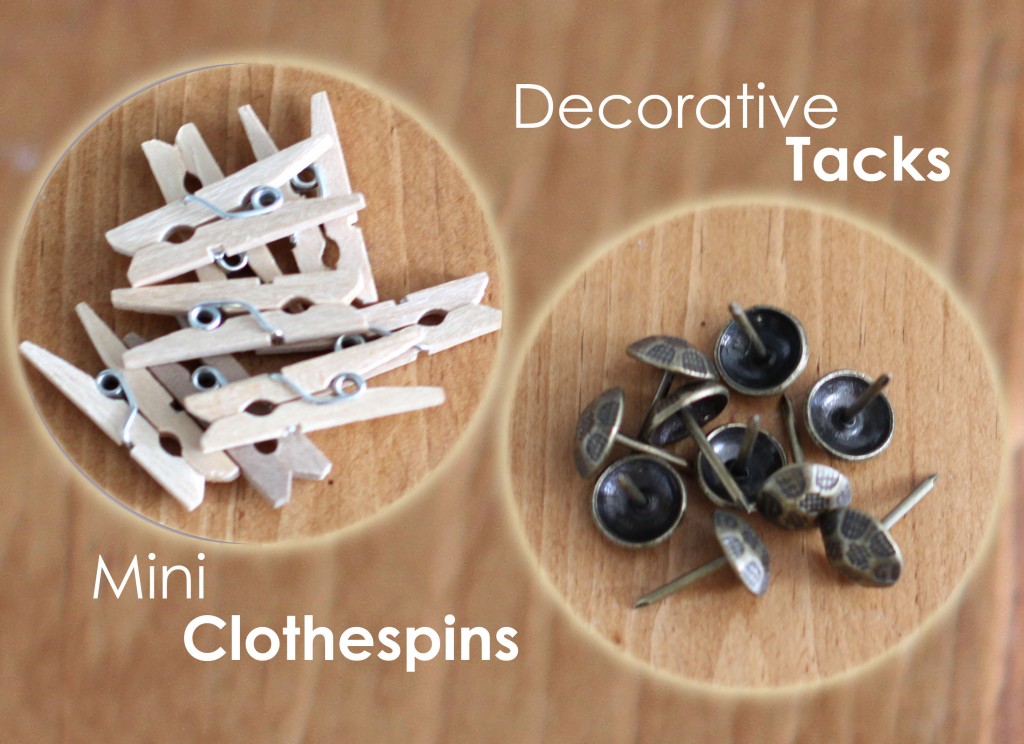
Tacks/Nails
Twine/Rope/Hemp
Clothespins (mini or regular)
Hammer
Sandpaper (optional)
Step One:
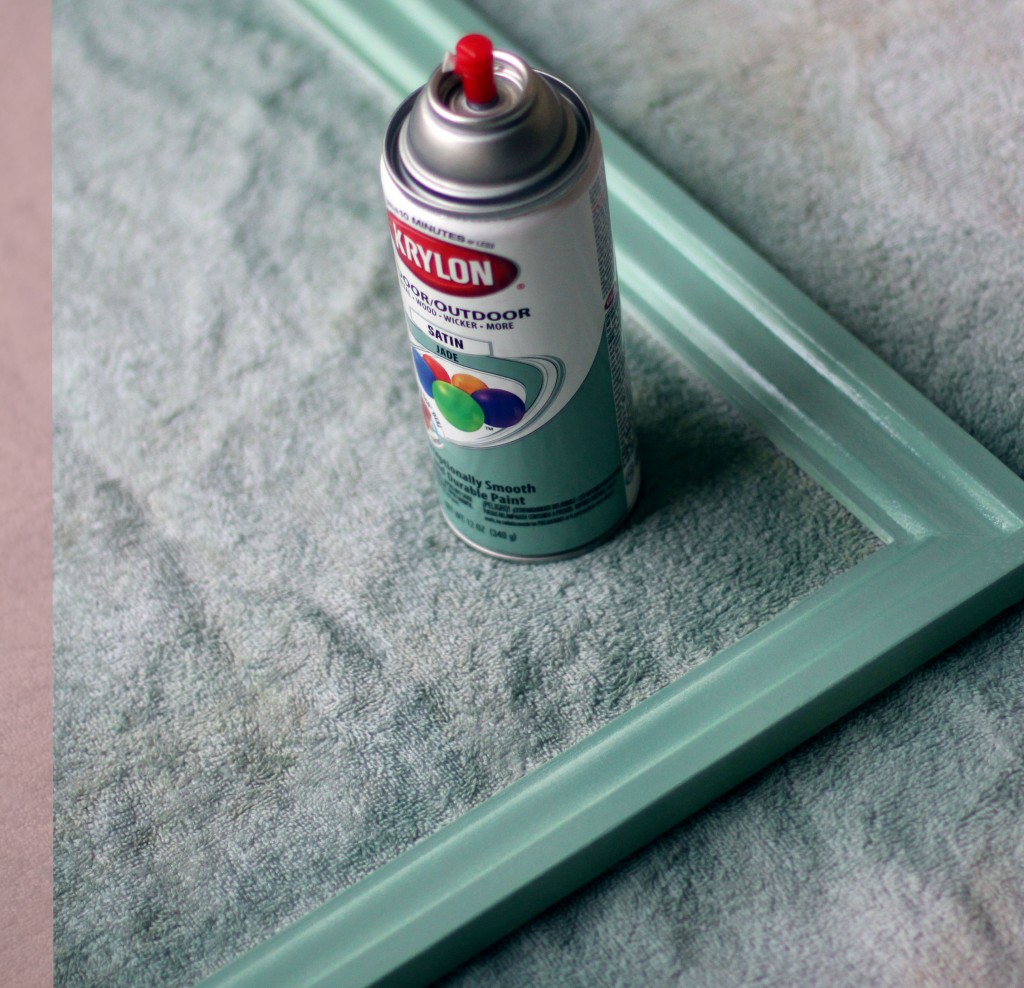
If your frame needs painting, that will be your first step. I chose a mint green and sprayed about 3-4 coats until I made sure it was solid. I let it dry for a day and then took a nail filer to it to give it a more rustic look. I couldn’t find my sandpaper so this was the next best option, and proved to be quite efficient! I also beat up the frame a little more with the hammer—be careful not to beat it up too bad!
Next, you’ll map out where you want the tacks, keeping in mind that your twine will hang slightly lower than where these are actually placed. To test out how much slack to give the twine, I wrapped it around the tacks before cutting and held up a photo to see about where it should hang. Here is also where you will decide if you want the frame to hang from your twine or use the hardware that already exists on the back of frame.
Because mine was re-purposed, I had no hanging options. I opted to hang the frame with visible twine. However, to add your own hanging “device,” simply hammer two tacks on the back about 6-9 inches apart. More distance between the nails will give you more visible twine or rope.
Now here comes the fun part—selecting your art to feature! For this one, I opted for printed photos, but you could really get creative with what you highlight. The possibilities are endless—you could use postcards or old correspondence, concert tickets, vintage photographs from an antique store or of your family, and so much more. The photos I used are printed from my Instagram account through a really nifty website called Printstagram. I chose the 4×4 option. The process is very easy, and quality of the prints is great!
Step Four:
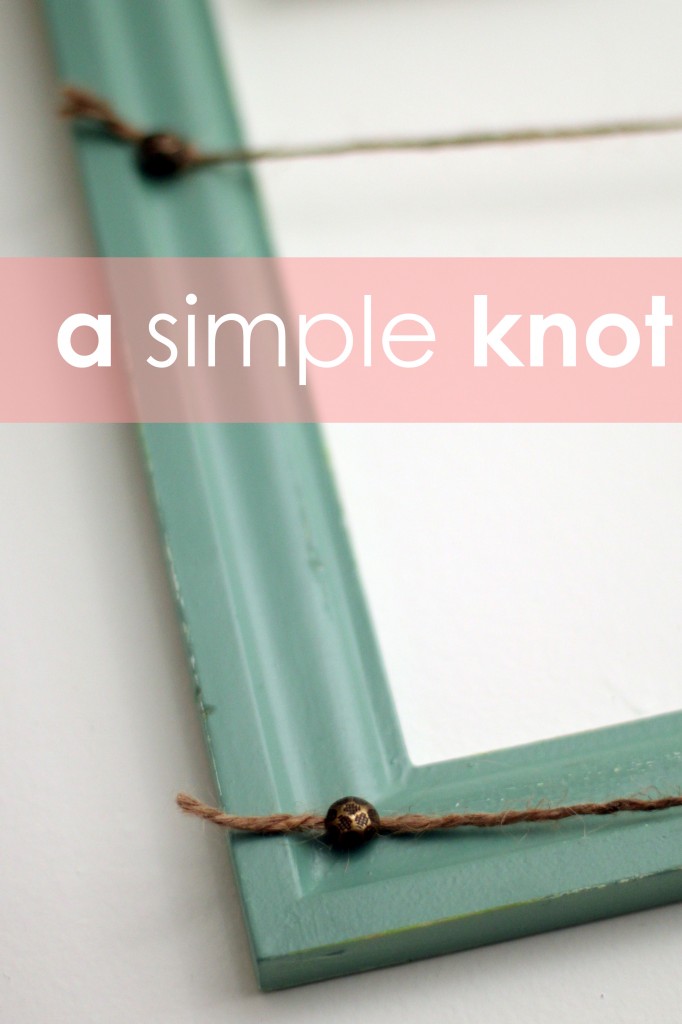
Once you’ve hammered in all your tacks and cut the twine, you’ll simply tie a knot at each tack, leaving a little extra to stick out from the tack and leaving a little slack in the line. Next, position the photos where you’d like them to hang using your clothespins attached and VA VA VOOM—new art for your home!

