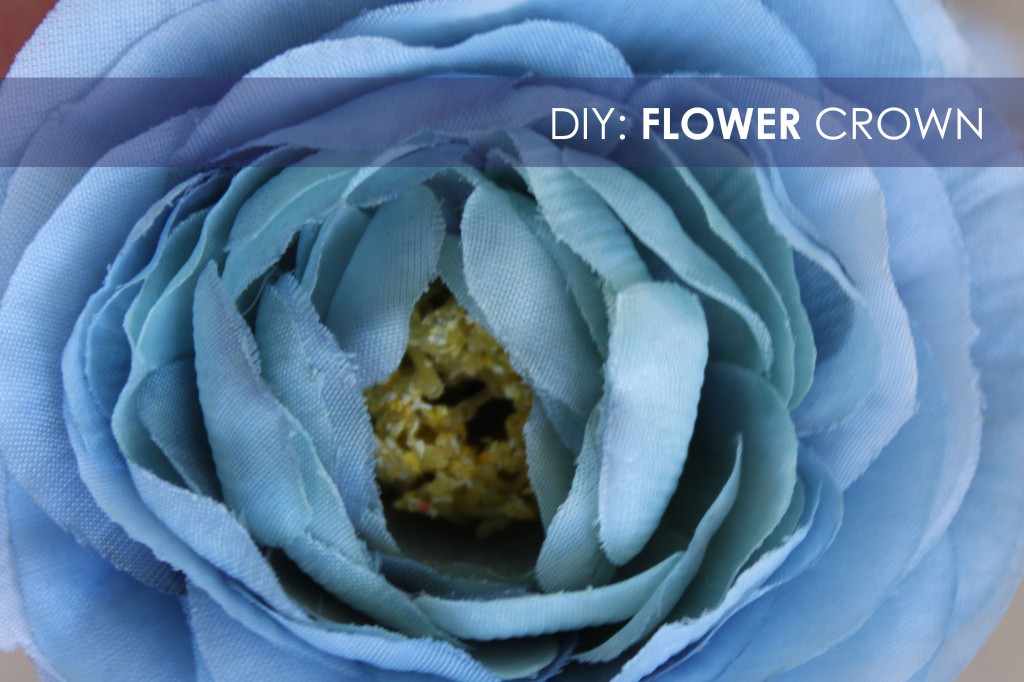
Originally I wanted it to be a bit more on the “fall side” since the Fall/Winter season is here, but when I went to select autumn-colored flowers, I was immediately drawn to the lighter shades and didn’t really love any of the fall flower selection at Michaels. There’s no right or wrong selection when it comes to picking out flowers to use for this project, so it’s really all about your personal preference. However, if you opt to keep and use the stem I would select a flower with a wire stem.
My inner flower child loved this idea the moment this craft resurfaced and became “fashionable!” While this version of a flower crown requires a little more work, it’s still inexpensive and the outcome will please any lady who loves some fun headgear flare!
MATERIALS
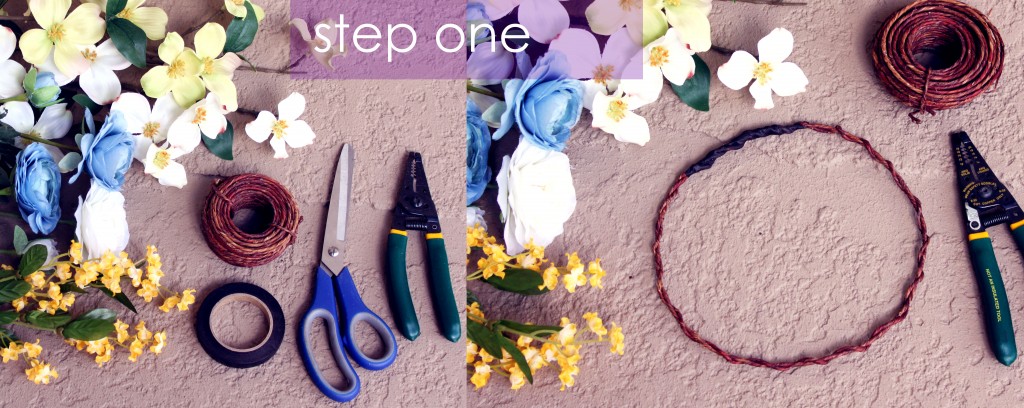
Silk flowers // Thick floral wire // Floral tape (optional) // Wire cutters // Scissors
Felt // Hot glue gun (or tacky glue)
STEP ONE
Take the thick floral wire, measure the diameter of your head and make a circle that is slightly bigger than the actual size. The flowers and felt make the crown a little tighter as you add so give the frame room to “grow.” I separated the flowers from the leaves so that I could strategically glue the leaves in places later.
Optional: Take the floral tape, cover up the point where the two ends meet. Especially if you are doing smaller, petite flowers and not a large cluster so no wire or end point is exposed and it protects your head from getting poked!
STEP TWO
Cut felt circles that are big enough to cover the back of your largest flowers, but small enough that they won’t hang off the edges. You’ll need two for each flower and will begin with gluing one to the back of each flower with the hot glue.
Next, place the felted flowers along the band where you wish them to be glued, I thought it was helpful to hold them up against my head in front of a mirror and see where about they should be positioned. In my case I wanted the main larger flowers to be in the center and then build around them with the leaves and smaller pieces. There’s no right or wrong way to arrange the flowers, it’s purely all about preference and the flowers you are working with.
STEP THREE
After you have them positioned, take the other felt pieces and glue them onto the back of the flowers sandwiching the band in between the two. You’ll want the flowers to angle outward and not upward because of how it will sit on your head so this makes it a little tricky when trying to glue and hold the headpiece. I used a prop to position the crown and it became easier once I got a few going. Then take your leaves and smaller flowers and place them in between the felt pieces and around the larger flowers. Periodically (after letting glue completely dry!) I placed it on my head to see how the leaves were positioned and make sure it was somewhat symmetrical. This helped a lot because I realized after a few minutes a cluster of leaves were bending backwards. Have fun with it-this is the best part-besides wearing your new crown!





Kathy Smith
very nice!
Elizabeth
Love this one, Jess! This would make an incredible group-craft!!!!
Hair Treatment
I really liked your blog! It helped me alot… Awesome. Exactly what I was looking for. Thanks!